Published: July 14, 2022 Last Updated 4 years ago by FPN
Uhhm, I don’t know how to tell you, but I guess I have already. Without a doubt, using a beauty blender is quite simple. But if you notice that your face isn’t turning into a picture-perfect canvas, you might be using yours incorrectly. Not to worry though, we have a step-by-step guide on how to use the beauty blender properly.
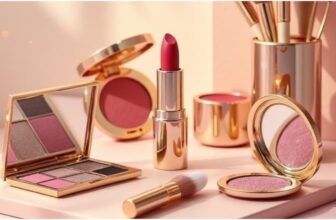
What is Beautyblender?
The beauty blender is a popular makeup essential with a wide range of uses including blending your foundation, concealer, and highlighter. There are a few other secret uses of this phenomenon that you may not yet know about — for eyeshadow and blush application, moisturizing your facial skin, and as a nail sponge. As it currently stands, you cannot take a sneak peek into a girl’s makeup box and not find that oval-shaped makeup sponge sitting pretty in it. It’s that indispensable; it’s got one of the best practicality for use by both professional makeup artists and DIY’ers. When it comes to using the beauty blender, there are a few rules to follow if getting a flawless look and a smooth finish is important to you when glamming up.
Continue reading to learn exactly how to use the beauty blender.
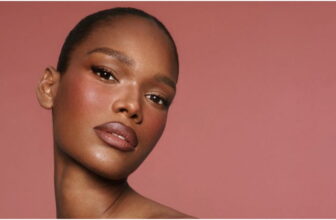
First things first: prime your skin
This is the very first step to giving your makeup a soft landing. It is advised that you prime the skin with a luminous formula before applying your foundation and blending it with a Beautyblender. Before transitioning into your foundation routine, a primer will enhance your natural glow while being gentle on your skin.
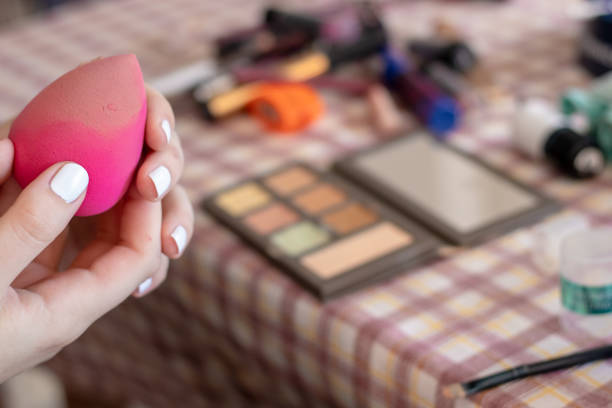
Dampen your Beautyblender — do not use it dry
You will always see this instruction in your beauty blender package. However, not many [people choose to read a boring list of manual instructions. However, it should be noted that the beauty blender is meant to be used wet. You get streak-free blending and a lustrous finish from the damp surface. Beauty artists have confirmed that your beauty blender is in a perfect place to deliver a good job when it has been expanded to twice its original size by dampening it.
 Getty Images/iStockphoto
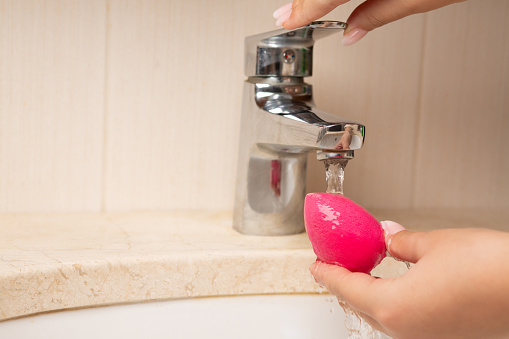
 Squeeze out any excess water
While dampening your beauty blender is important, it is not advisable to use it when it is dripping heavily. This is merely a minor adjustment to how this makeup tool is dampened. The blender should first be completely submerged in water then you make sure it is well-soaked before removing it to give it a good squeeze to get the water out. As a result, your blender will become damp and springy and it will easily roll off your skin, just the way you’ll love it.
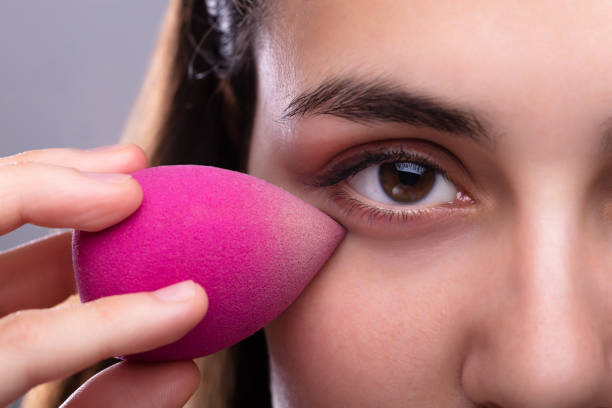
Bounce, don’t drag, or use in a wiping motion
Dragging is unfair to both the skin and the beautyblender. I mean, your face is not a ground for some kind of petty practice. Haha! But, look at it this way — ask this quick question — why drag when it’s already bouncy from being wet? It is never appropriate to apply makeup by dragging your blender across your face. By doing that, your makeup will simply be unevenly blended out. Instead, you’re required to use tapping motions, or in this case, bouncing motions, to blend your makeup. While on it, ensure you start out with a small amount of product and add more until you achieve the desired coverage.
Use the pointed end of the Beautyblender to fine-tune your makeup
Gradually, as you can already notice, the right steps in using your beautyblender align. It’s already distinctively designed to fit into its natural usage. While the base is designed for applying and blending products on larger areas of the face, the pointed end is intended to conceal blemishes, blend difficult-to-reach areas like the area around the nose and mouth, and apply the product to the cheeks’ apples.
 Getty Images/iStockphoto
 Lest I forget — when comparing the beauty blender’s pointed end to a buffing brush, you can achieve the same cheekbones. The pointed side of the beauty blender can be used to bake, contour, and bronze your face. There are just a plethora of benefits to the pointed end of your beauty blender. So cool!
How to care for your BeautyBlender
Caveat —this is not a chore! The cons of using a dirty beautyblender are the ultimate motivation to care for it. You don’t want to ever experience annoying breakouts because you skipped this. Additionally, if you already didn’t know, your beautyblender becomes stiff after absorbing so many products and this poses difficulty for a polished and bouncy application. Therefore, it makes sense to clean your beauty blender every time you use it or at most once per week.
 Getty Images/iStockphoto
 Using a liquid cleansing solution, you could clean your beauty blender. Squeeze out the blender after submerging it in the soapy solution. Repeat these steps until the blender is thoroughly clean. Next, give it a clean water rinse and let it air dry.