It doesn’t really matter if you like Kim Kardashian or not, the fact is that the reality star put contouring on the map years ago. This technique has gained so much popularity over the years, as well as highlighting, and if you want to master these, too, look no further because we’re here to help you out! Here are some useful tips on how to contour and highlight like a true pro, so check them out and enjoy!
Step #1: Exfoliate and moisturize your skin in the first place
In case you weren’t aware of it, the truth is that no makeup product will look good on your face if your skin is dry and flaky. In order to prevent that and provide a smooth base for your makeup, you need to use a gentle facial scrub.
It will remove a buildup of dead skin cells from the surface and allow your moisturizer to penetrate deeper into the skin. As for the moisturizing cream, you should pick one that quickly absorbs into the skin yet leaves it silky and properly hydrated.
 Photo: Urbanspa.ca
 Step #2: Apply foundation until you get an even base
Applying foundation is the next step toward a flawless makeup look. Of course, choosing an appropriate shade according to your skin tone plays a huge role here, so be extra careful to do it right.
You can apply your foundation in two different ways: with a makeup sponge for lighter coverage, or with a foundation brush for full coverage. Besides that, you should make sure to pick a foundation formulated with natural ingredients, as these are very gentle and won’t cause any irritations. Such foundations are great for all skin types, including sensitive ones, so bear that in mind as well.
Step #3: Use a concealer to cover all imperfections
Once your foundation is laid down, it’s about time you apply your concealer. This step is essential as the foundation sometimes can’t cover every single imperfection. So, if you can still see a blemish peeking through, just add a touch of concealer for extra coverage.
Besides that, you can also use concealer to cover your dark circles under the eyes. This is particularly useful when your foundation is lightweight and can’t cover them properly, so draw an inverted triangle under the eyes, blend it out to perfection, and cover up those bad boys!
Step #4: Apply your favorite contouring products…
When your base is as flawless as possible, you can start applying your favorite contouring products. However, you need to bear in mind that shimmer in such products isn’t your best friend, so pick a matte contour instead. Of course, you should be sure to use natural makeup products for contouring, such as those with amazing ingredients that will protect, soothe, and heal your skin while providing a sun-kissed look.
Sweep the brush in the shape of a 3, starting with your forehead, then along the side of your face, into the hollow of your cheeks, and then down to your jawline. As simple as that!
 Photo: Jazmin Quaynor/Unsplash
 Step #5: … As well as highlighting products
Highlighting is the next step after contouring, so take your trusty highlighter and apply it gently on your face. Start at the top of your cheekbones, just above your bronzer. You can use either a fan brush, which will give you a sheer, more natural look, or a small, tapered face brush, which will result in a more intense, blinding effect.
Once you’ve applied highlighter to your cheeks, continue with the tip of your nose, your Cupid’s bow, and around your temples. However, if you accidentally apply too much of a highlighter, just use a makeup sponge or a brush you’ve previously applied your foundation with, dab gently, and you’ll tone it down successfully.
Step #6: Use a setting spray to lock your makeup in place
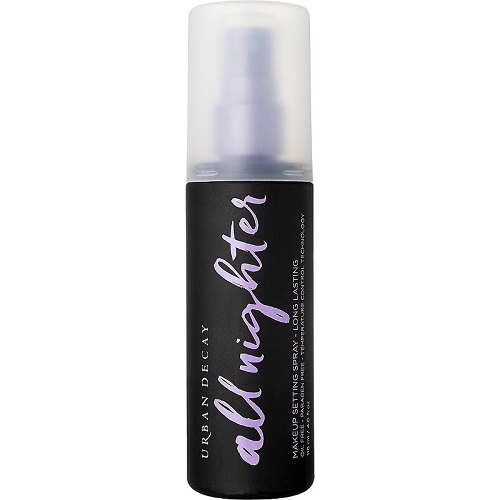
Last but certainly not least, setting spray is the final step that plays a very important role in any makeup look. That’s why you mustn’t forget to apply this amazing product once your makeup look is all done.
Apart from locking your makeup products in and allowing them to last all day long, a setting spray will also smooth out your overall look by transforming a powdery finish into a smooth and luminous one. It will make your highlighter pop out even more, too, which is a benefit that mustn’t be overlooked either, so don’t skip it and you’ll see a huge difference!
 Photo: ulta.com
 As you can tell, contouring and highlighting aren’t just about picking the right makeup products for these two steps.
It’s also about preparing your skin by exfoliating and moisturizing, laying down a flawless base that consists of foundation and concealer, and then finishing it off by applying setting spray when you’re done with contouring and highlighting. Once you figure that out, you’ll be able to contour and highlight like a true pro, without a shadow of a doubt!


